• Skip to secondary menu
  • Skip to main content
  • Skip to primary sidebar

Kristina Rees, CreatingWithKristina.com

Independent Stampin' Up! Demonstrator

  • Home
  • Benefits of Joining
  • Shop With Me!
    • Shop Stampin’ Up!
    • Shop Tutorials
    • Must Have Tools
    • My Account
  • About Me
  • Contact Me
  • Events
  •  

Watercolor Background and Coffee

August 7, 2017 4 Comments

Affiliate links may be used in this post. I may receive a small commission at no extra cost to you if you make a purchase through my affiliate link

To jazz up today’s card I added a fun watercolor background in two shades of green.  I’m using the new Coffee Cafe stamp set with matching thinlit dies by Stampin’ Up!.  The instructions are listed below.

Watercolor background is all the craze these days and it is so easy! All you need is watercolor paper, ink, water and a plastic bag.

Watercolor Background Instructions

First to keep the water color paper from warping too much, tape down all the sides on a hard surface.  I use an old wooden clip board.

Watercolor Background 2

Next wet the paper with water using a wide paint brush.

Watecolor Background Instructions 3

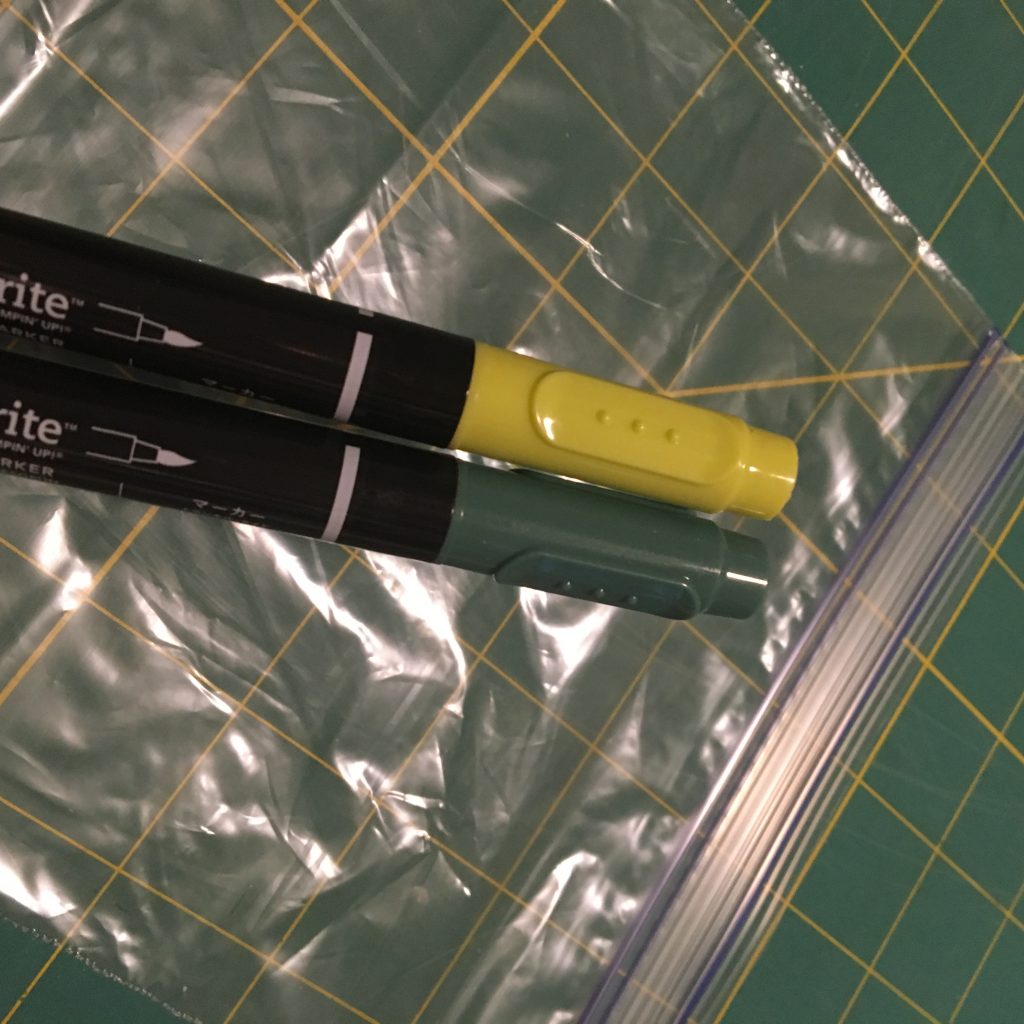
Add ink to a plastic bag.  I am using water based pens in Tranquil Tide and Lemon Lime Twist to color the plastic bag, but you could paint water color onto the bag as well.

The magic happens when you smoosh the ink from the bag onto the wet paper.

Watecolor Background Instructions 8

Watecolor Background Instructions 7

Watecolor Background Instructions 6

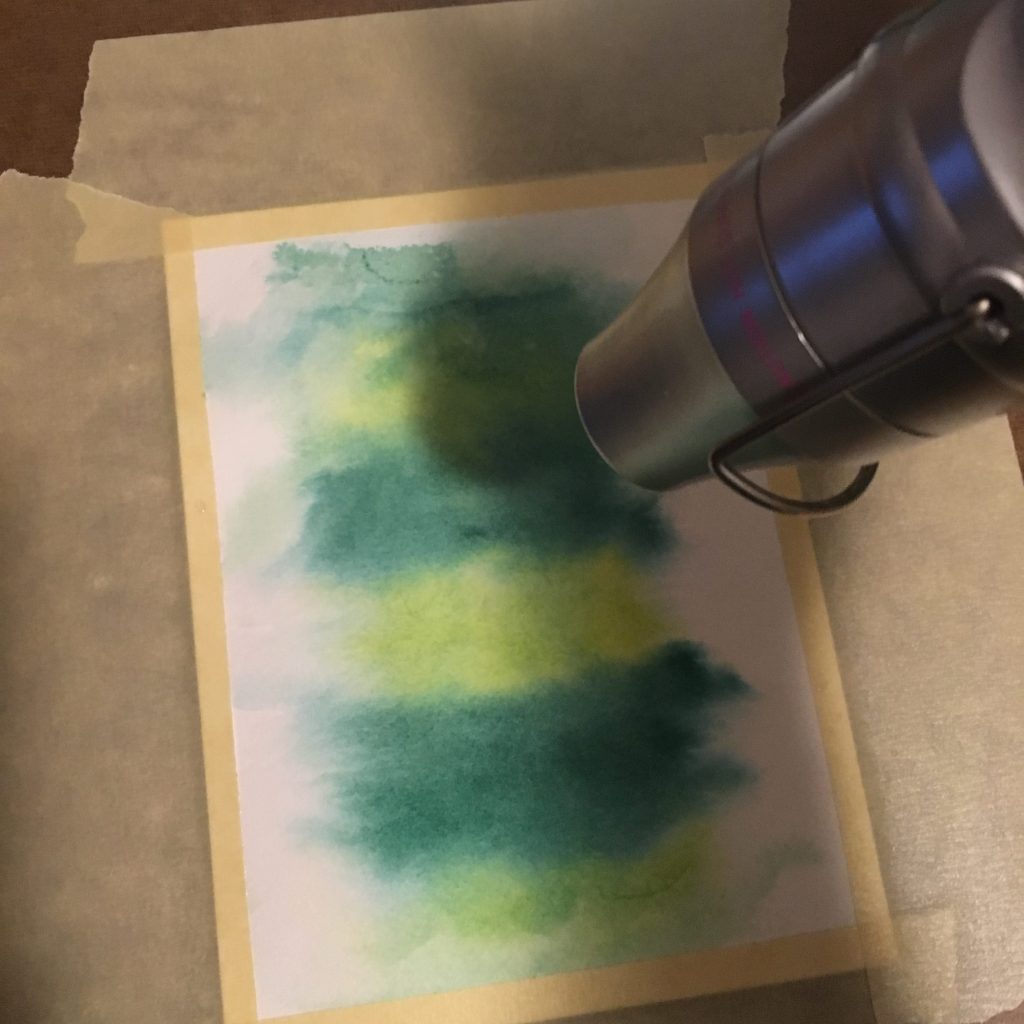
Let it dry.  You can use a paper towel to absorb some of the pooling water puddles if you like. To speed up the drying process use a heat tool like I do here.
Watercolor Background Instructions 9

And now to decorate.

I fussy cut the coffee pot and cups from the Coffee Break designer paper and stamped the sentiment in Early Espresso ink.  Water color paper can be difficult to stamp on so I used the Misti stamping tool by My Sweet Petuia to reink several times.  Stampin’ Up! also has a reinking tool called the Stamp a ma jig listed below.

The final touches are a few coffee beans and some Wink of Stella to bling it up a bit.

If you have a coffee loving friend, you will love this set.  There is also a “Thanks a Latte” sentiment when you need to send that special thank you note.

Product List

Coffee Café Photopolymer Bundle

Coffee Café Photopolymer Bundle
[145331]
$45.75

Coffee Break Designer Series Paper

Coffee Break Designer Series Paper
[144155]
$11.00

Watercolor Paper

Watercolor Paper
[122959]
$5.00

2017-2019 In Color Stampin' Write Markers

2017-2019 In Color Stampin’ Write Markers
[144033]
$15.00

Heat Tool

Heat Tool
[129053]
$30.00

Clear Wink Of Stella Glitter Brush

Clear Wink Of Stella Glitter Brush
[141897]
$8.00

Tranquil Tide 8-1/2" X 11" Cardstock

Tranquil Tide 8-1/2″ X 11″ Cardstock
[144246]
$8.00

Early Espresso Classic Stampin' Pad

Early Espresso Classic Stampin’ Pad
[126974]
$6.50

Stamp-A-Ma-Jig

Stamp-A-Ma-Jig
[101049]
$12.00


Thank you for stopping by.  I hope you will try this fun technique. And until next time, keep calm and stamp on!

Signature for Blog


Linky Parties:

Grand Social
Make it Pretty Monday
Inspire me Monday
Create Link Inspire
Coffee and Conversation
Wined Down Wednesday
Best of Weekends

Filed Under: Tips & Tutorials Tagged With: Coffee Cafe

Subscribe

Hi, I'm Kristina! I help paper crafters create beautiful handmade cards with confidence so they can bless family and friends with something made from the heart. Contact Me

Reader Interactions

Comments

  1. Chris R. from Iowa says

    August 7, 2017 at 10:07 am

    This looks like fun! I gotta try this. I had not thought about using the markers on the bag either. I have more markers than ink pads. Thanks for a fun idea!

    Reply
    • Kristina Rees says

      August 7, 2017 at 7:30 pm

      Thank you Chris for stopping by and taking the time to let me know you liked it. It really is fun and so easy.

      Reply
  2. Chris R. from Iowa says

    August 7, 2017 at 10:07 am

    This looks like fun! I gotta try this. I had not thought about using the markers on the bag either. I have more markers than ink pads. Thanks for a fun idea!

    Reply
    • Kristina Rees says

      August 7, 2017 at 7:30 pm

      Thank you Chris for stopping by and taking the time to let me know you liked it. It really is fun and so easy.

      Reply

Leave a Reply Cancel reply

Your email address will not be published. Required fields are marked *

Primary Sidebar

Welcome!

Kristina Rees, Stampin' Up! Demonstrator


Kristina Rees


Stampin' Up!
Demonstrator

Helping you create beautiful cards, scrapbook pages, and handmade gifts that connect people you love.


Let's Connect!

  • Email
  • Facebook
  • Instagram
  • Pinterest
  • YouTube
Subscribe Button
Kristina Rees, Shop My Online Store

CLICK here to see the May 2026 Catalog

Stampin' Up! Catalog

Search

Archives

Kristina Rees, Disclaimer

The content of this site is the sole responsibility and opinions of Kristina Rees as an Independent Stampin' Up! Demonstrator and the use of its content, classes, services, and/or products offered is not endorsed by Stampin' Up! Stamped images are copyright Stampin' Up!

View My Privacy Policy
Content © Kristina Rees, all rights reserved. Wordpress Genesis Framework customized by WebsByAmy, LLC